
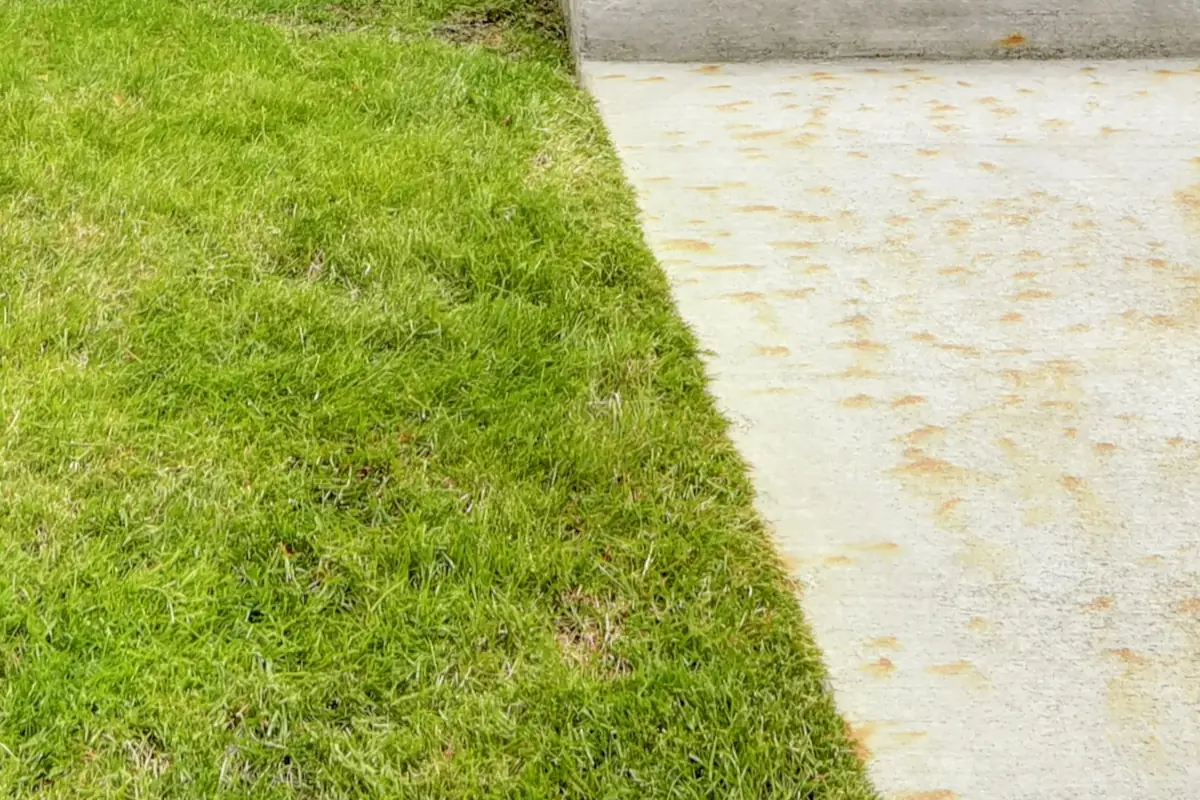
Are you tired of the constant maintenance required for a grass lawn? Mowing, watering, fertilizing, and battling weeds can be time-consuming and expensive. Also, you can’t store anything on top of the grass, you can’t park vehicles on it, and you can’t use it when you need a hard or level surface. If those are your needs grass isn’t very suitable – but concrete is.
For several reasons, you may decide you want to rip up grass and put in concrete to give your more area for vehicles, workspace, or other options. If you cut the grass down and schlep concrete over it, you will not get a very good finished product.
In this guide, we’ll help walk you through the process step-by-step to ensure a durable, attractive concrete surface that meets your needs.
Why Replace Grass with Concrete?
Several advantages of choosing concrete over grass are:
- Low maintenance: Once installed, concrete requires very little upkeep compared to grass. No more mowing, watering, or applying fertilizers and pesticides.
- Durability: Properly installed concrete can last for decades, making it a cost-effective long-term solution. It stands up well to heavy foot traffic and vehicle use.
- Versatility: Concrete offers many options for customization. You can choose from a variety of colors, textures, and patterns to complement your home’s style.
- Cost-effective: While the upfront cost may be higher than grass, concrete can save you money in the long run due to its low maintenance requirements and longevity.
- Eco-friendly: Concrete doesn’t require water, fertilizers, or pesticides to maintain, making it a more environmentally friendly choice than grass in many cases.
What to Consider When You Replace Grass with Concrete
Before you begin the process of replacing your grass with concrete, there are a few important factors to consider:
- Local regulations: Check with your local building department to ensure that installing concrete on your property is permitted and if any specific requirements or restrictions apply. You may need to obtain permits and schedule inspections. Requirements vary a lot by city. Homeowners in Boulder deal with some of the strictest stormwater regulations on the Front Range, while projects in Aurora can fall under Arapahoe, Adams, or Douglas county rules depending on exactly where the property sits.
- Utilities: Locate and mark any underground utilities, such as gas lines, electrical wires, water pipes, or septic systems, before excavation begins. Call 811, the national “Call Before You Dig” number, to have utility lines marked for free.
- Drainage: Proper drainage is essential for the longevity of your concrete surface. Consider the natural slope of your land and plan for adequate drainage to prevent water from pooling on or around the concrete. You may need to install a drainage system.
- Surrounding landscape: Think about how the concrete will integrate with your existing landscape features, such as gardens, trees, or structures. You may need to make adjustments or incorporate transitions between the concrete and other elements.
- Intended use: Consider how you plan to use the concrete surface. Different uses may require different thicknesses, reinforcement, or finishes to ensure optimal performance and durability.
Step-by-Step Guide to Replacing Grass with Concrete
Step 1: Planning and Preparation
Before starting the project, carefully plan out the area you want to convert to concrete. Consider factors such as:
- The purpose of the concrete surface (parking, patio, workspace, etc.)
- The desired size and shape of the area
- Drainage requirements
- Local building codes and permits
Once you have a plan in place, gather all necessary tools and materials, including:
- Sod cutter or rented removal machine
- Shovel and rake
- Gravel or sand for the base
- Concrete mix
- Reinforcement materials (rebar or wire mesh)
- Wooden forms for pouring
- Trowels and floats for finishing
Step 2: Remove the Grass
The first and most crucial step is to completely remove the grass and its root system. Any remaining grass can seriously impact the quality and durability of your concrete. Here’s how to do it:
- Use a sod cutter or rented removal machine to slice under the grass and remove it in strips. For smaller areas, a sharp spade can be used.
- Dig out any remaining roots and debris. The goal is to have a clean, level surface to work with.
- If you prefer an eco-friendlier approach and have extra time, you can kill the grass by covering it with dark tarps for several weeks before removal.
Step 3: Prepare the Base
With the grass removed, it’s time to create a stable base for your concrete. Proper site preparation is key for a professional-looking and long-lasting result. Follow these steps:
- Excavate the area to a depth of at least 4 inches, plus the thickness of your concrete slab.
- Compact the soil using a plate compactor or hand tamper. The goal is to create a firm, level surface.
- Add a layer of gravel or sand and compact it thoroughly. This provides drainage and helps prevent shifting or settling.
- Install reinforcement materials like rebar or wire mesh to add strength to your concrete, especially for vehicle use.
- Set up wooden forms around the perimeter to contain the concrete during pouring. Make sure they are level and securely staked.
Step 4: Pour the Concrete
With the site fully prepped, you’re ready to pour the concrete. For best results, it’s recommended to hire experienced professionals like Enright Asphalt for this crucial step. They have the knowledge and skill to ensure a flawless installation tailored to your specific needs and environment.
If you choose to pour the concrete yourself, follow these general steps:
- Mix the concrete according to the manufacturer’s instructions. For large projects, consider ordering pre-mixed concrete.
- Dampen the base material before pouring to prevent it from drawing moisture out of the concrete.
- Pour the concrete into the forms, starting at the farthest point and working your way out. Use a shovel or hoe to spread it evenly.
- Use a straight board or screed to level the surface, moving it in a sawing motion across the top of the forms.
- After screeding, use a float to further smooth and level the surface. Start with a bull float for larger areas, then switch to a hand float.
- As the concrete begins to harden, run an edging trowel along the forms to create a rounded or beveled edge.
- For a non-slip surface, use a broom or brush to add texture once the concrete has lost its sheen.
Step 5: Curing and Sealing
After pouring, it’s important to let the concrete cure properly to reach its maximum strength. Keep the surface damp by misting it with water or covering it with plastic sheeting for at least a week. Avoid walking on or putting heavy weight on the concrete during this time.
Once fully cured, it’s recommended to seal the concrete to protect it from stains, chemicals, and moisture damage. Apply a high-quality sealer according to the manufacturer’s instructions for best results.
Maintaining Your Concrete Surface
While concrete requires far less maintenance than grass, there are still some steps you can take to keep it looking its best:
- Sweep away dirt and debris regularly
- Clean up spills, especially oil and grease, as soon as possible
- Pressure wash the surface annually to remove built-up grime
- Reseal the concrete every few years to maintain its protective barrier
By following these simple maintenance tips, your concrete surface can provide many years of durable, attractive service.
Transform Your Lawn with Enright Asphalt’s Concrete Solutions
Replacing your grass with concrete is a big decision and a significant investment. To ensure the best possible results, Enright Asphalt knows exactly how to tackle a job in your local environment. Our team has the knowledge and expertise to guide you through every step of the process, from planning to final installation. We’ll work with you to create a customized solution that meets your specific needs and enhances your property’s functionality and appeal.
Don’t settle for a subpar concrete installation. Contact Enright Asphalt today to schedule your consultation and take the first step toward a more practical, low-maintenance outdoor space you’ll enjoy for years to come.